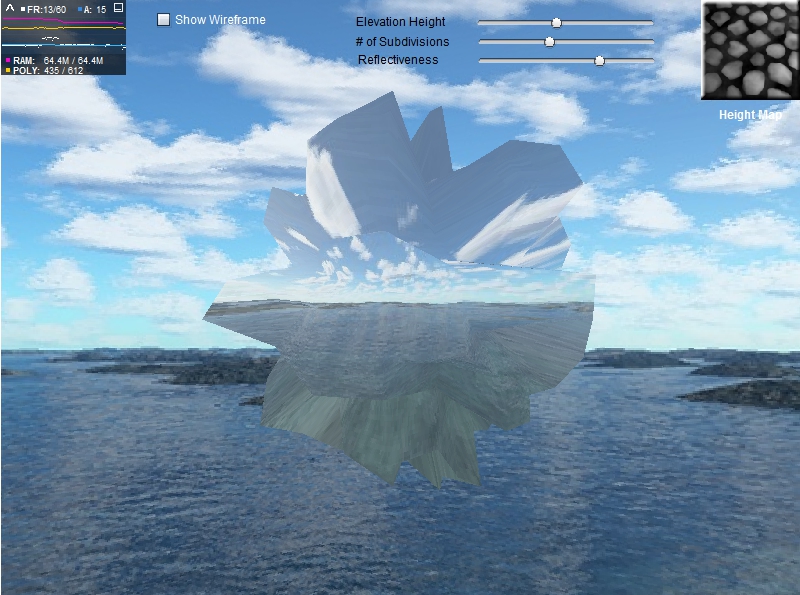
→ Click here or the image above for the demo. → View the source code.
As usual, shortly after finishing an Away3D demo an Away3d dev (this time Fabrice Closier) suggests a better way to do it. In my previous 2 demos I created fluid and morphing effects on planar meshes using a modified version of the SkinExtrude class.
As per Fabrice’s suggestion, this time I did the same using the HeightMapModifier class. No modifications to Away3D source code necessary and it works on any mesh, planar or otherwise. In this example I apply dynamic height maps to a sphere to create some pretty wild meshes. Be sure to toggle to wireframe mode so that you can get a good look at how the vertices move with each height map transition. Here’s a snippet of how it works:
1 2 3 4 5 6 7 8 9 10 11 12 13 14 | |
One other cool note to remember is that you can also use negative values for scale. By doing so you can create indents rather than bumps on your mesh. See what happens when you turn the “Elevation height” all the way down on this demo.
Also in the example I utilize the EnviroBitmapMaterial to give our target mesh a shiny, reflective appearance. True reflection is very processor intensive and is outside the realm of feasibility right now for 3D Flash. But by using environment materials, we can “fake” a reflective surface by using an environment map that closely matches the Away3D scene. In this case the environment map I used for the EnviroBitmapMaterial is one of the images I used to create the skybox for the scene. You’ll notice the reflective effect even more as the mesh morphs or when you orbit around it.
There you have it, mesh morphing and reflective materials in Away3D. With a little luck, this’ll be the last time you have to hear me talk about it for a while!
